How To: Double Exposure Tips & Tricks
April’s photography experiment = double exposures! I’ve played with them before, but it’s often haphazardly and I feel lucky to get a few shots that look cool (at least in my opinion they look cool 😎)


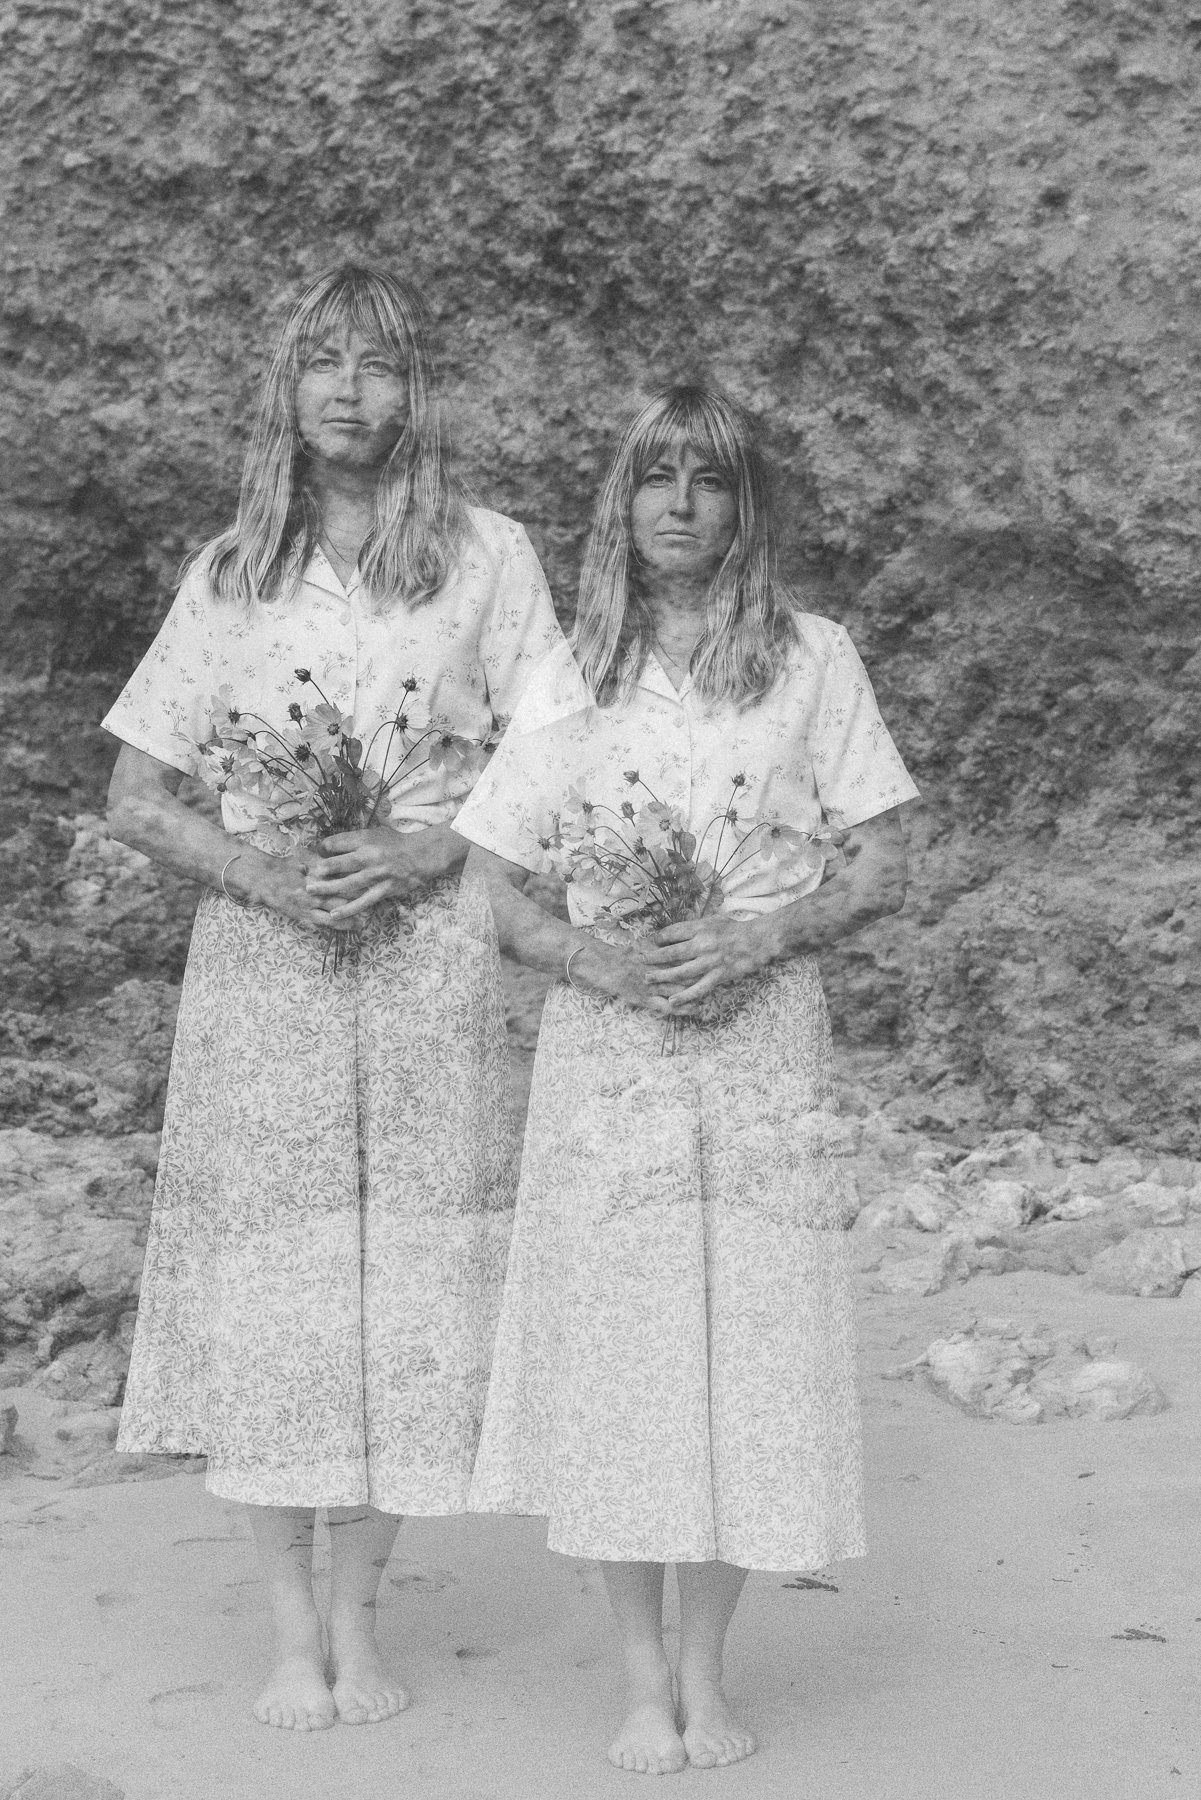
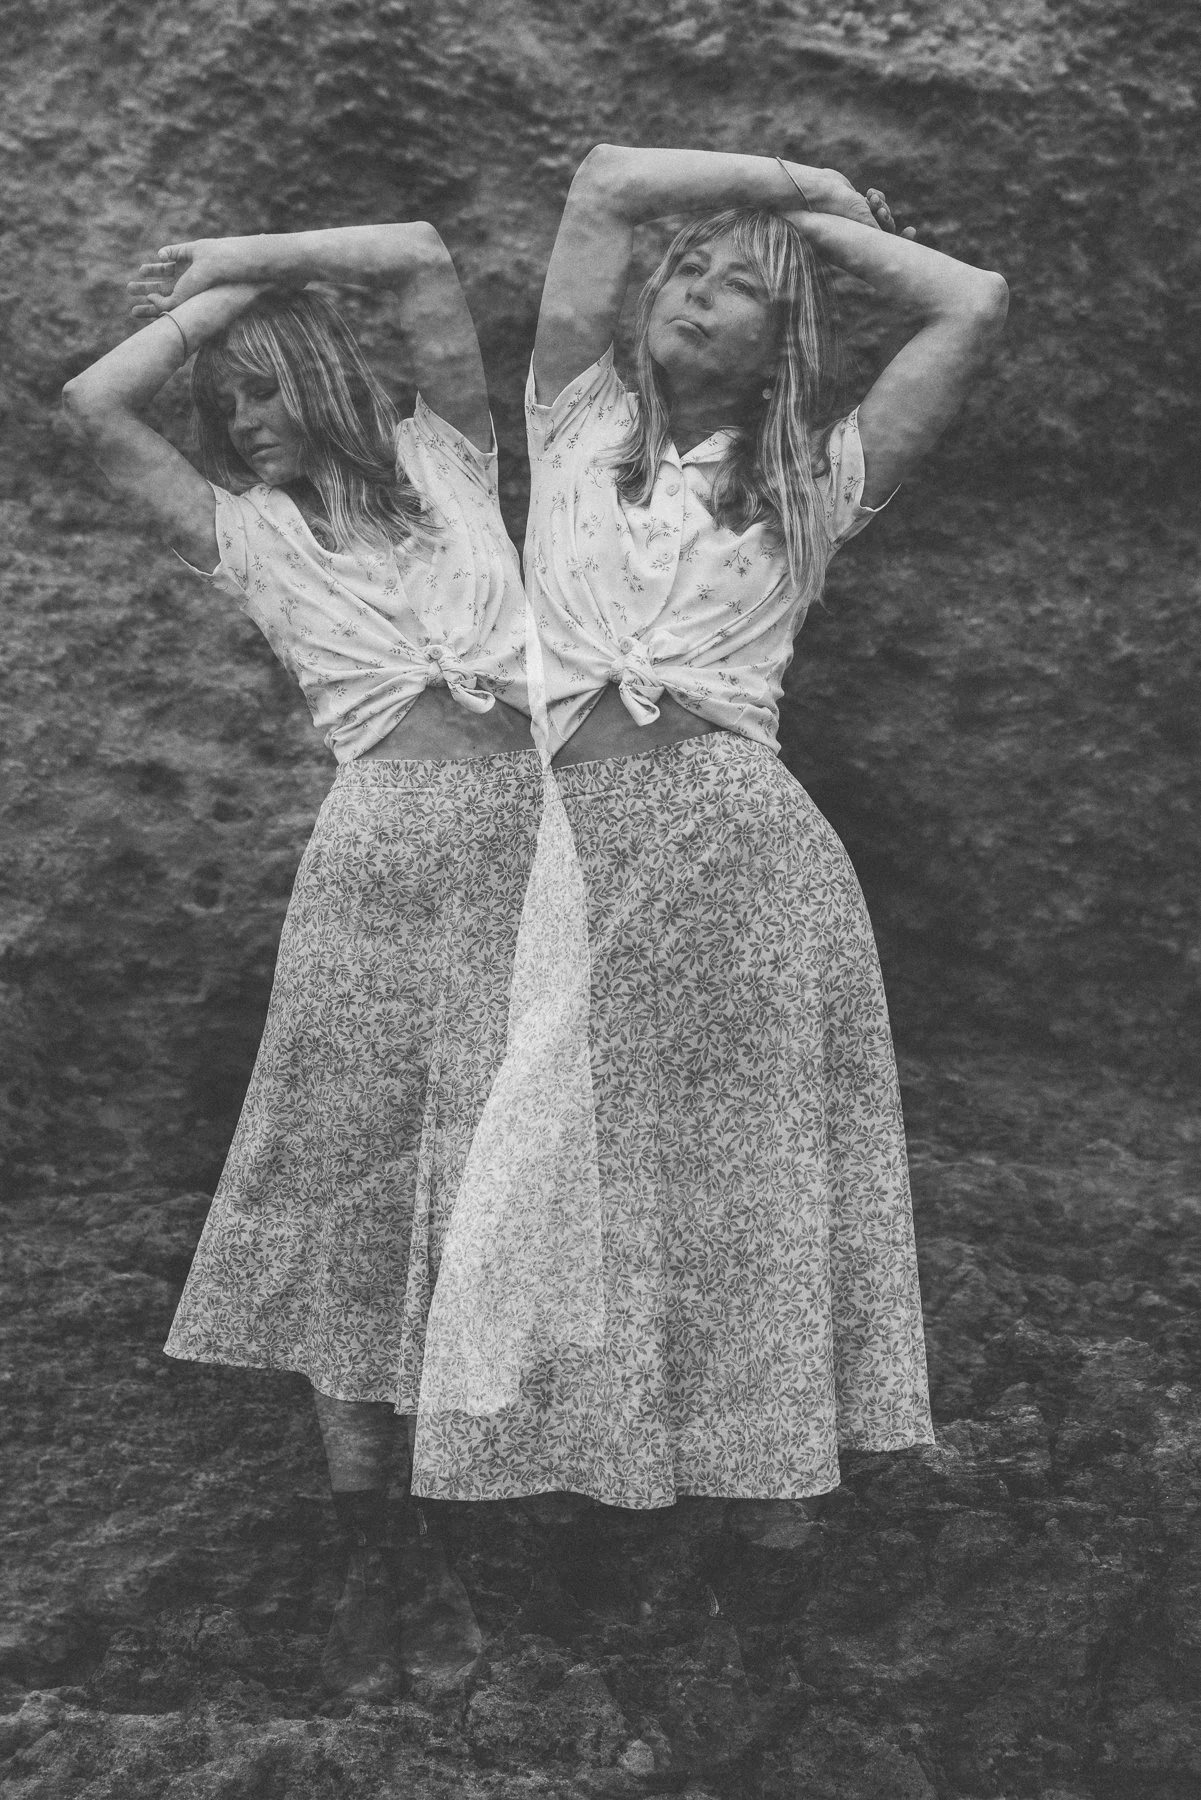
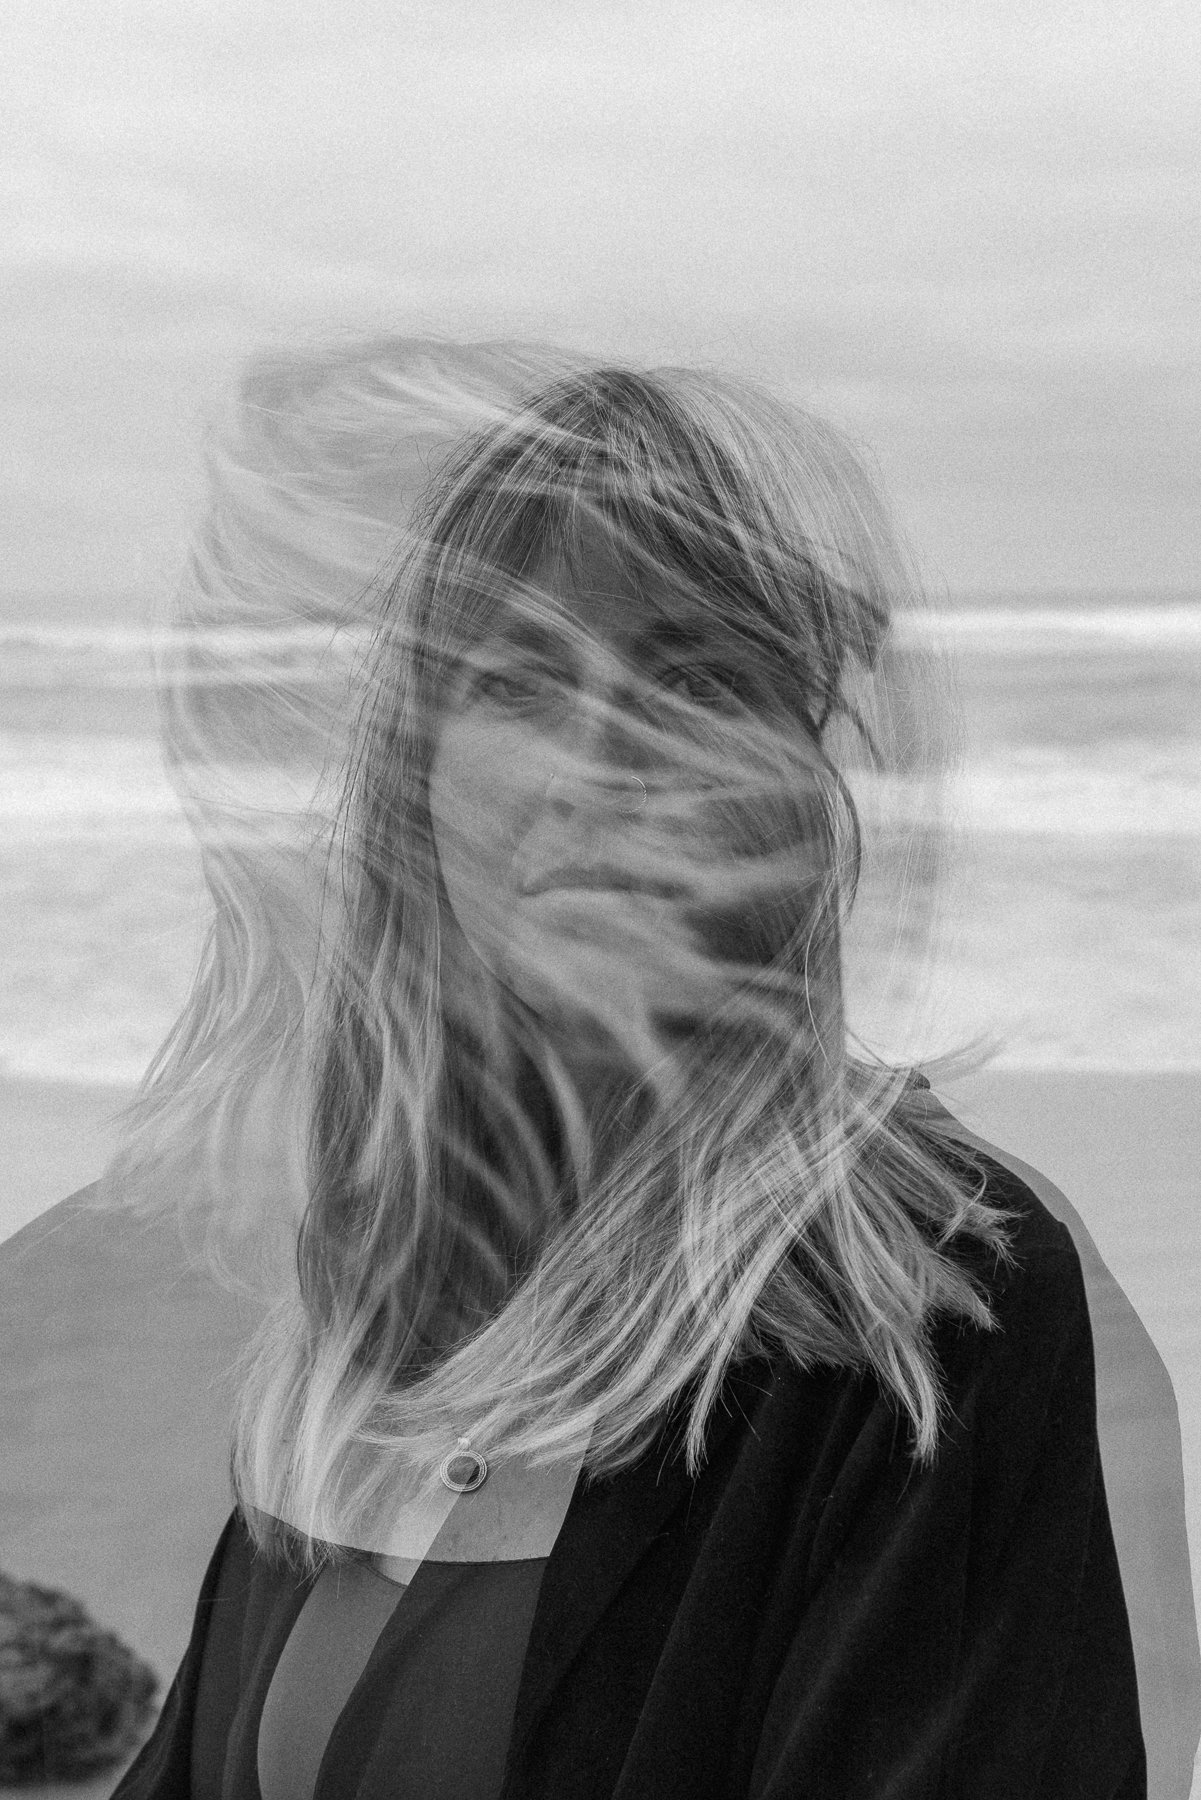
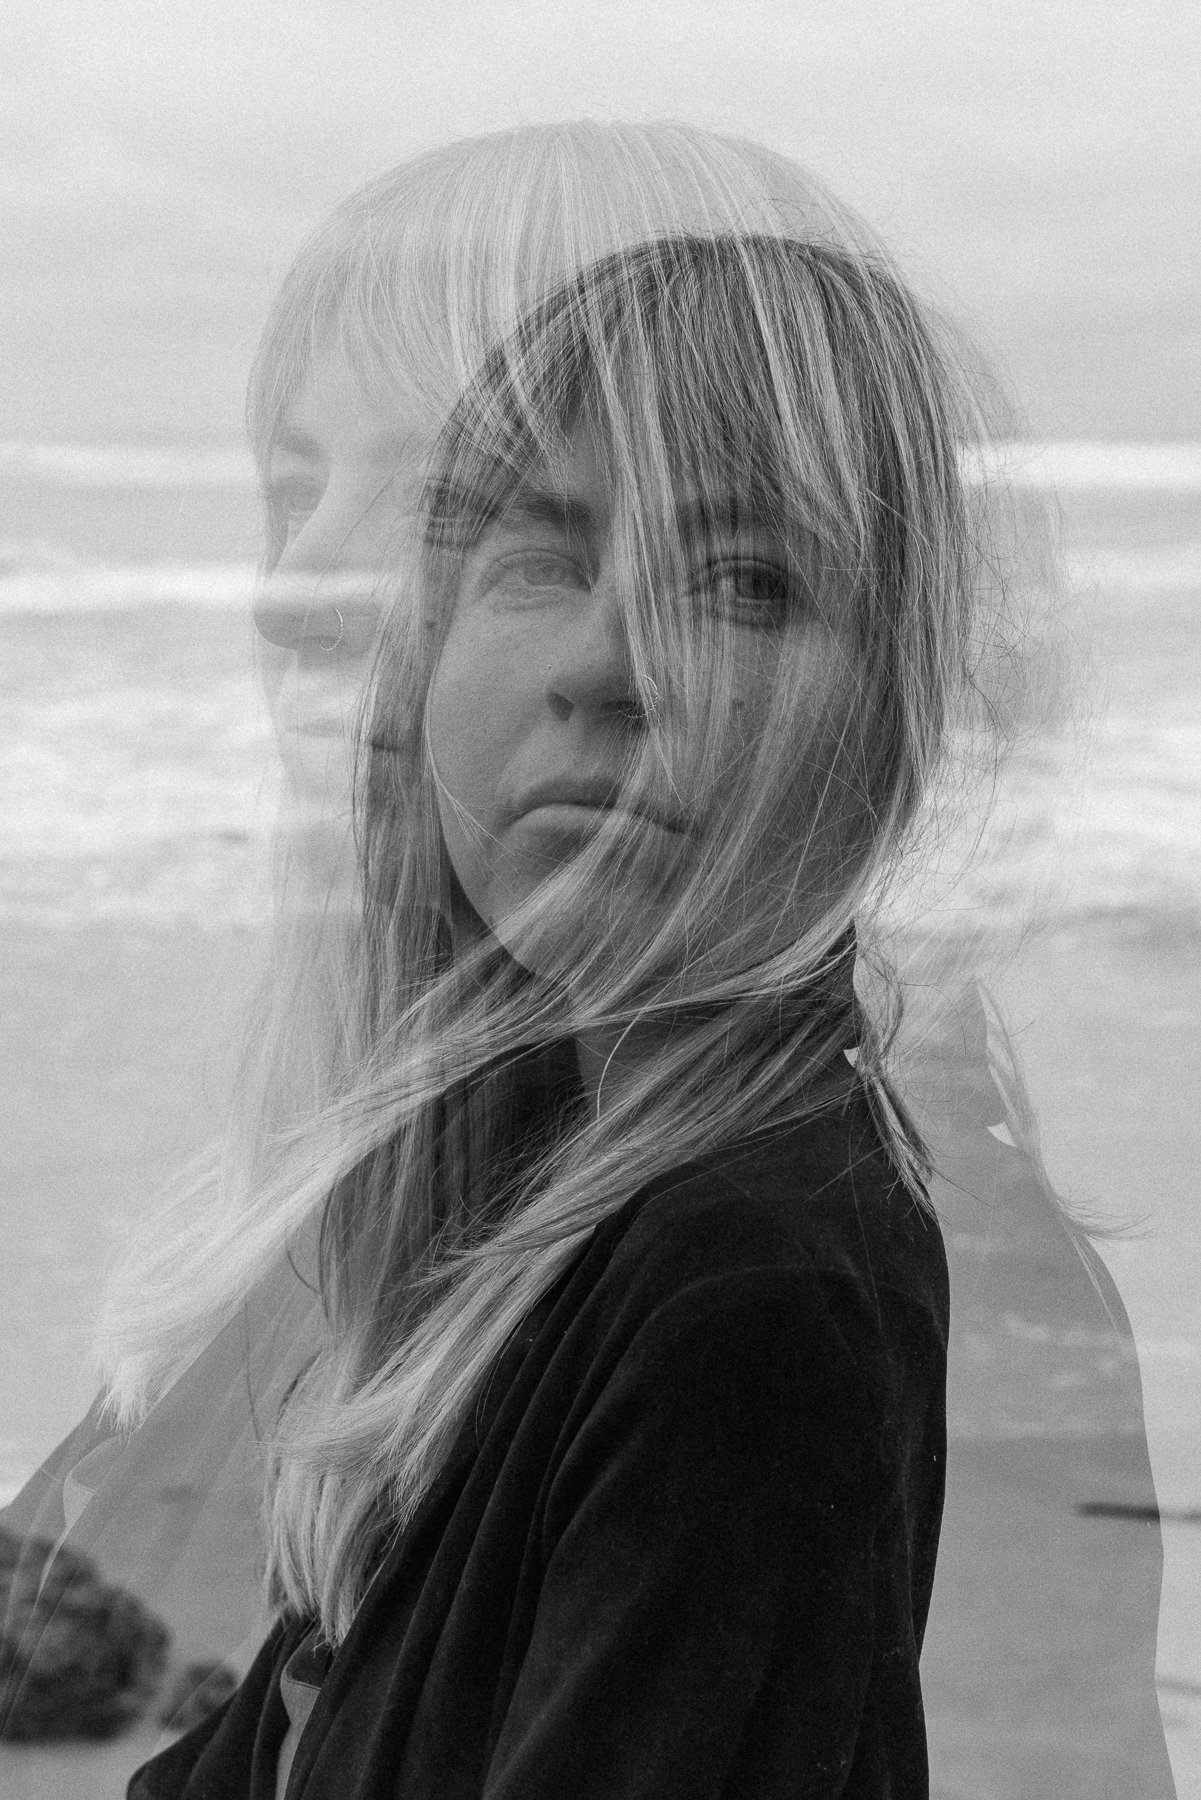
So what is a double exposure? It’s a technique that layers two different exposures on a single image, combining two photographs into one. It was traditionally done with film cameras, but most digitals have a setting that allow you to do it in camera. 👍🏼 You can also create them in post-production (editing) but I don’t like spending too much time on my computer. 🖥️
So in theory, double exposure made sense to me. In practice, it was tricker than I thought! Shout out to Robyn (@robyn_strathearn) for her infectious energy, ideas and incredible patience. We did A LOT of trial and error. We experimented with different camera settings, exposures, focal lengths, backdrops, and outfits. We shot and shot and shot and shot. And slowly but surely we both started to wrap our heads around what made capturing a double exposure easier.
A few double exposure tips:
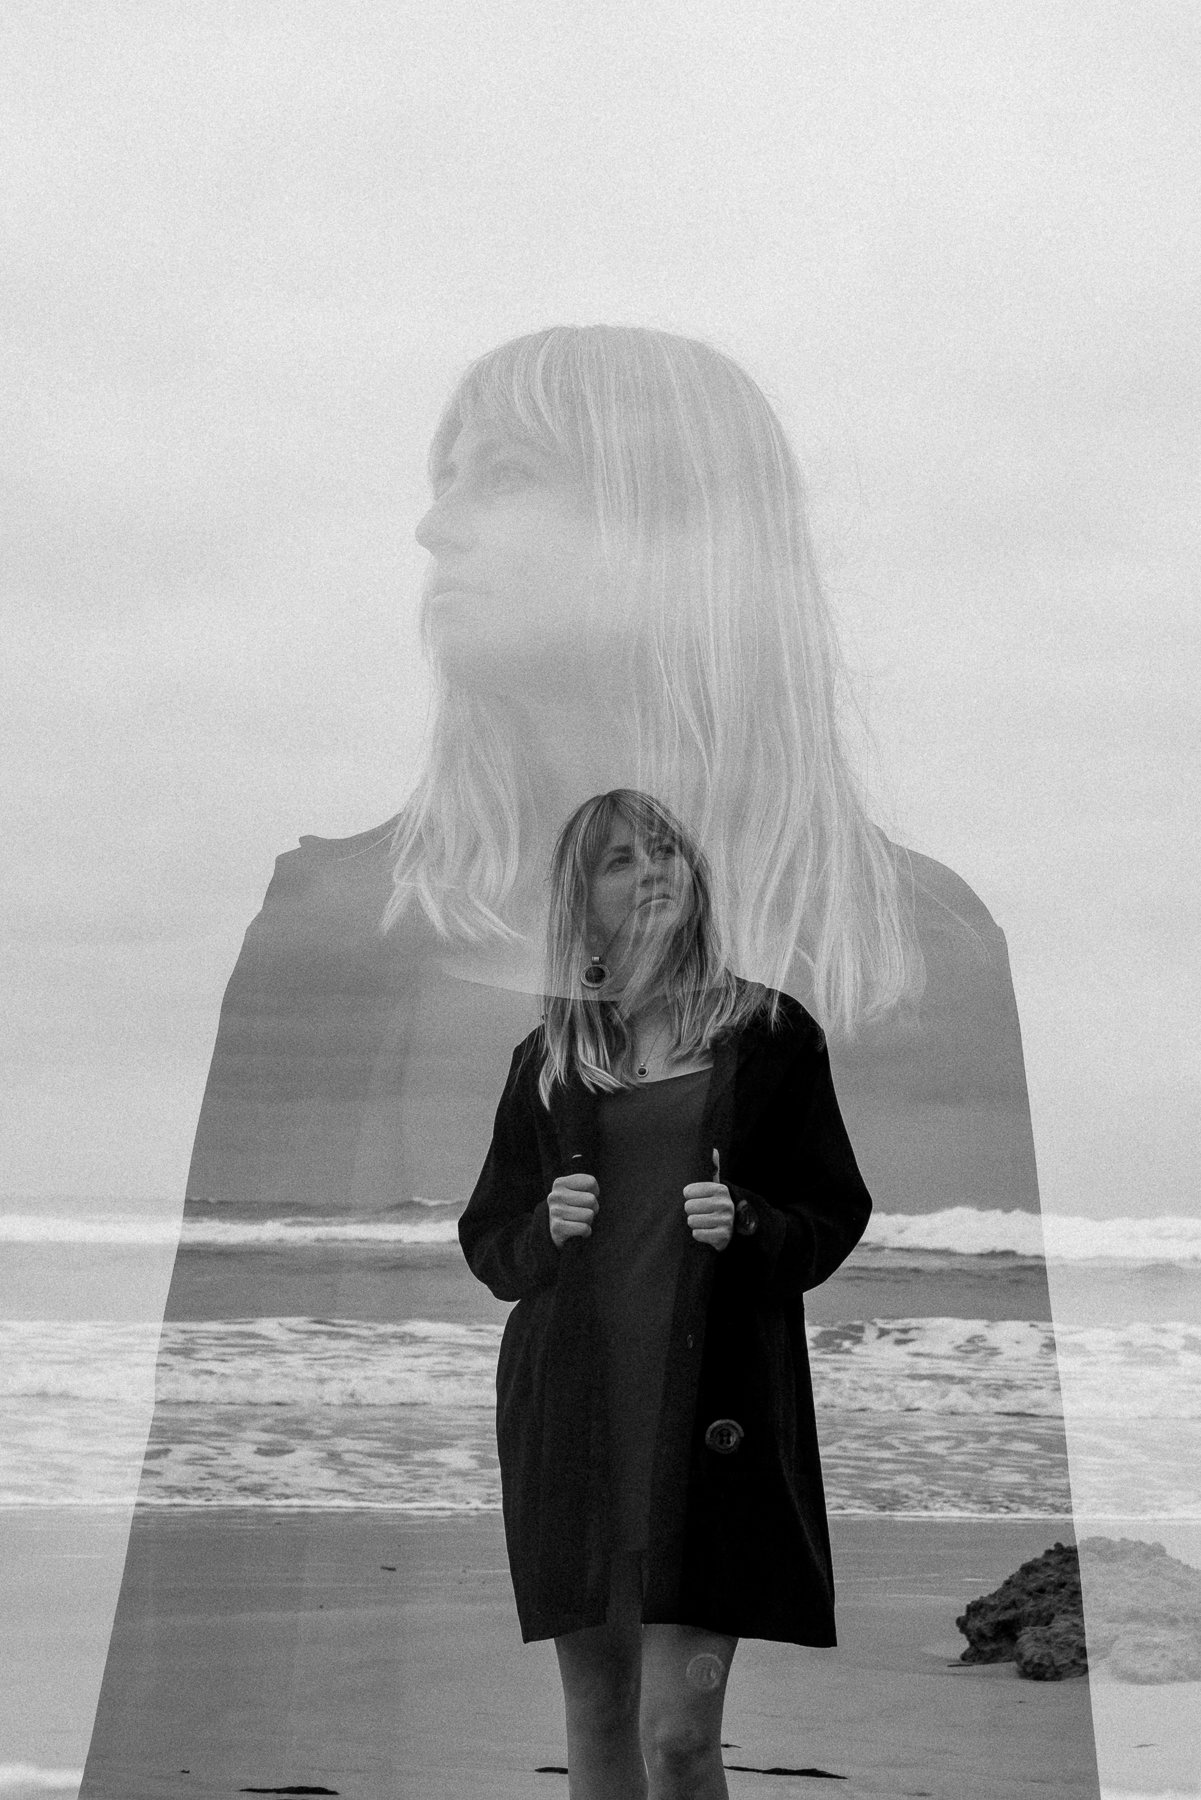
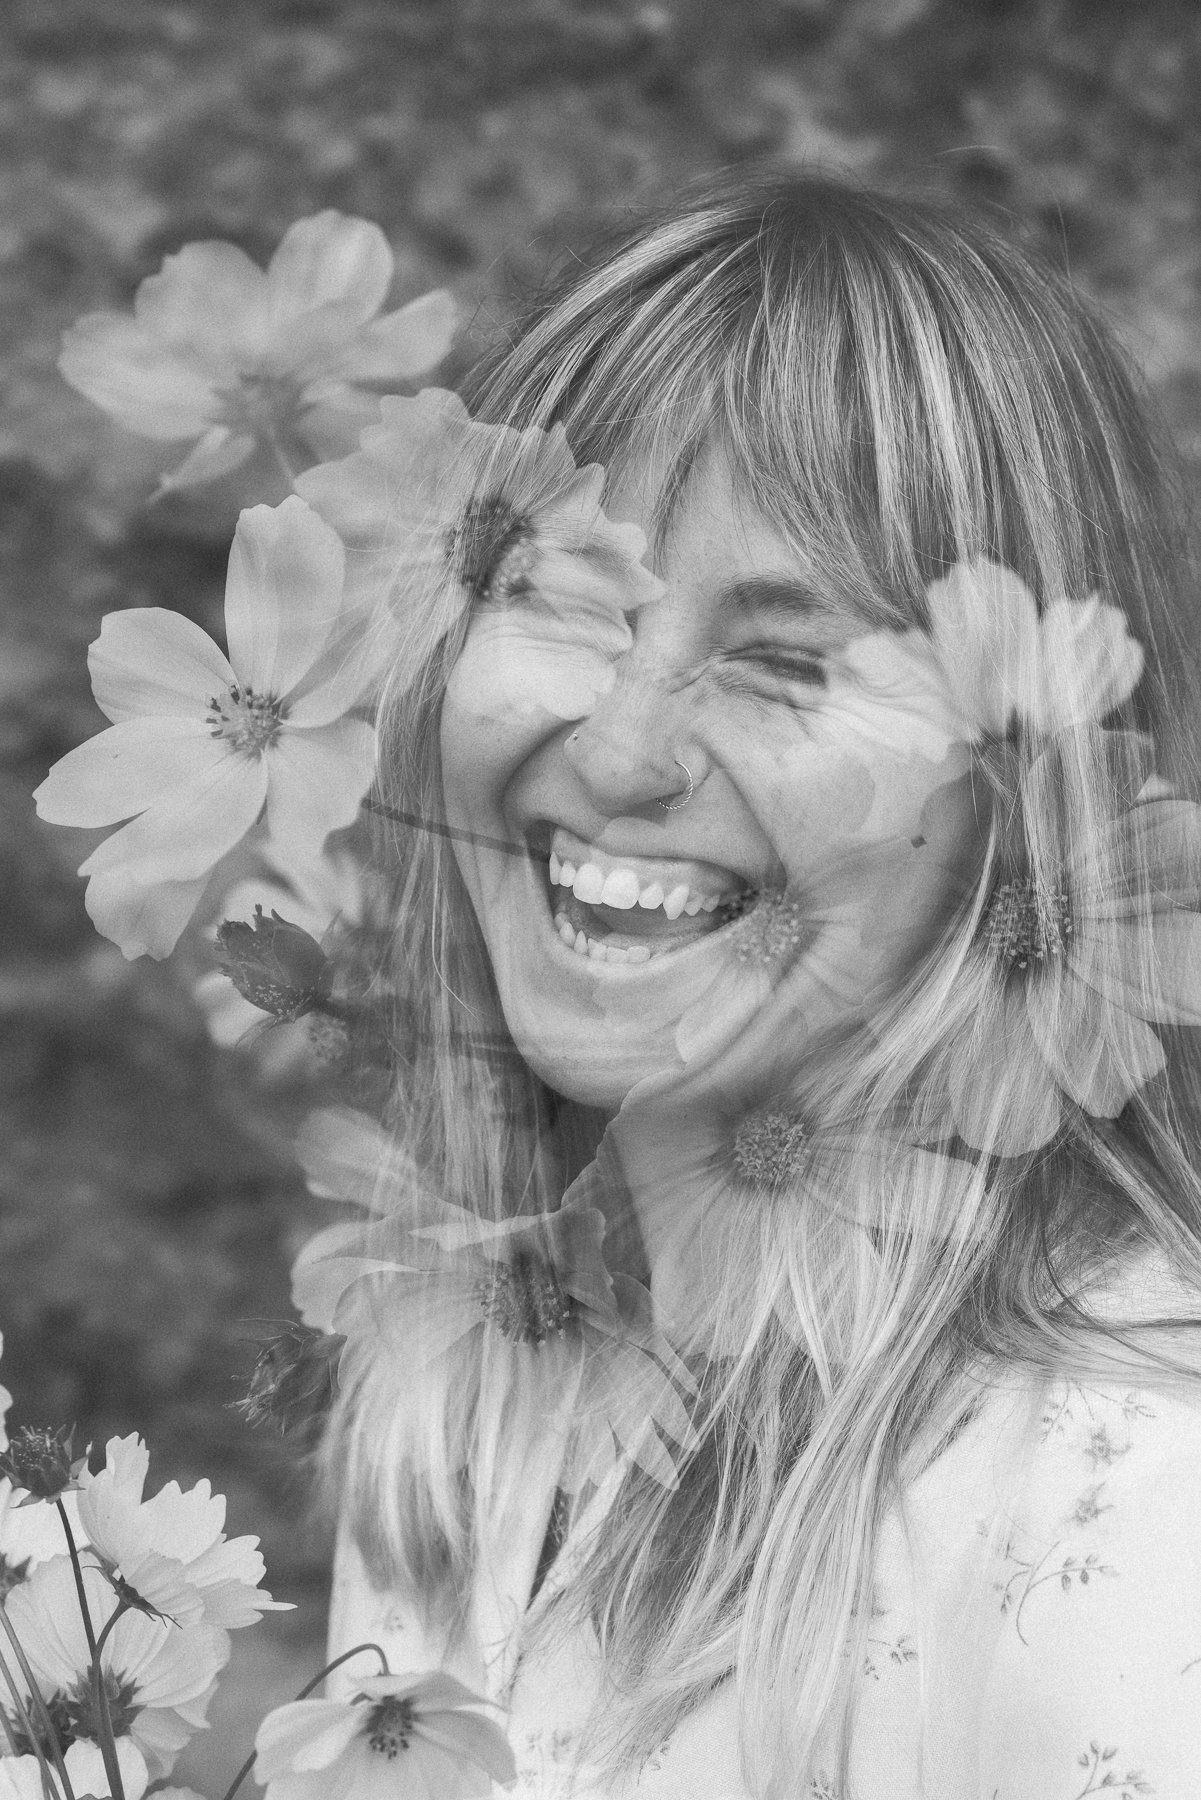
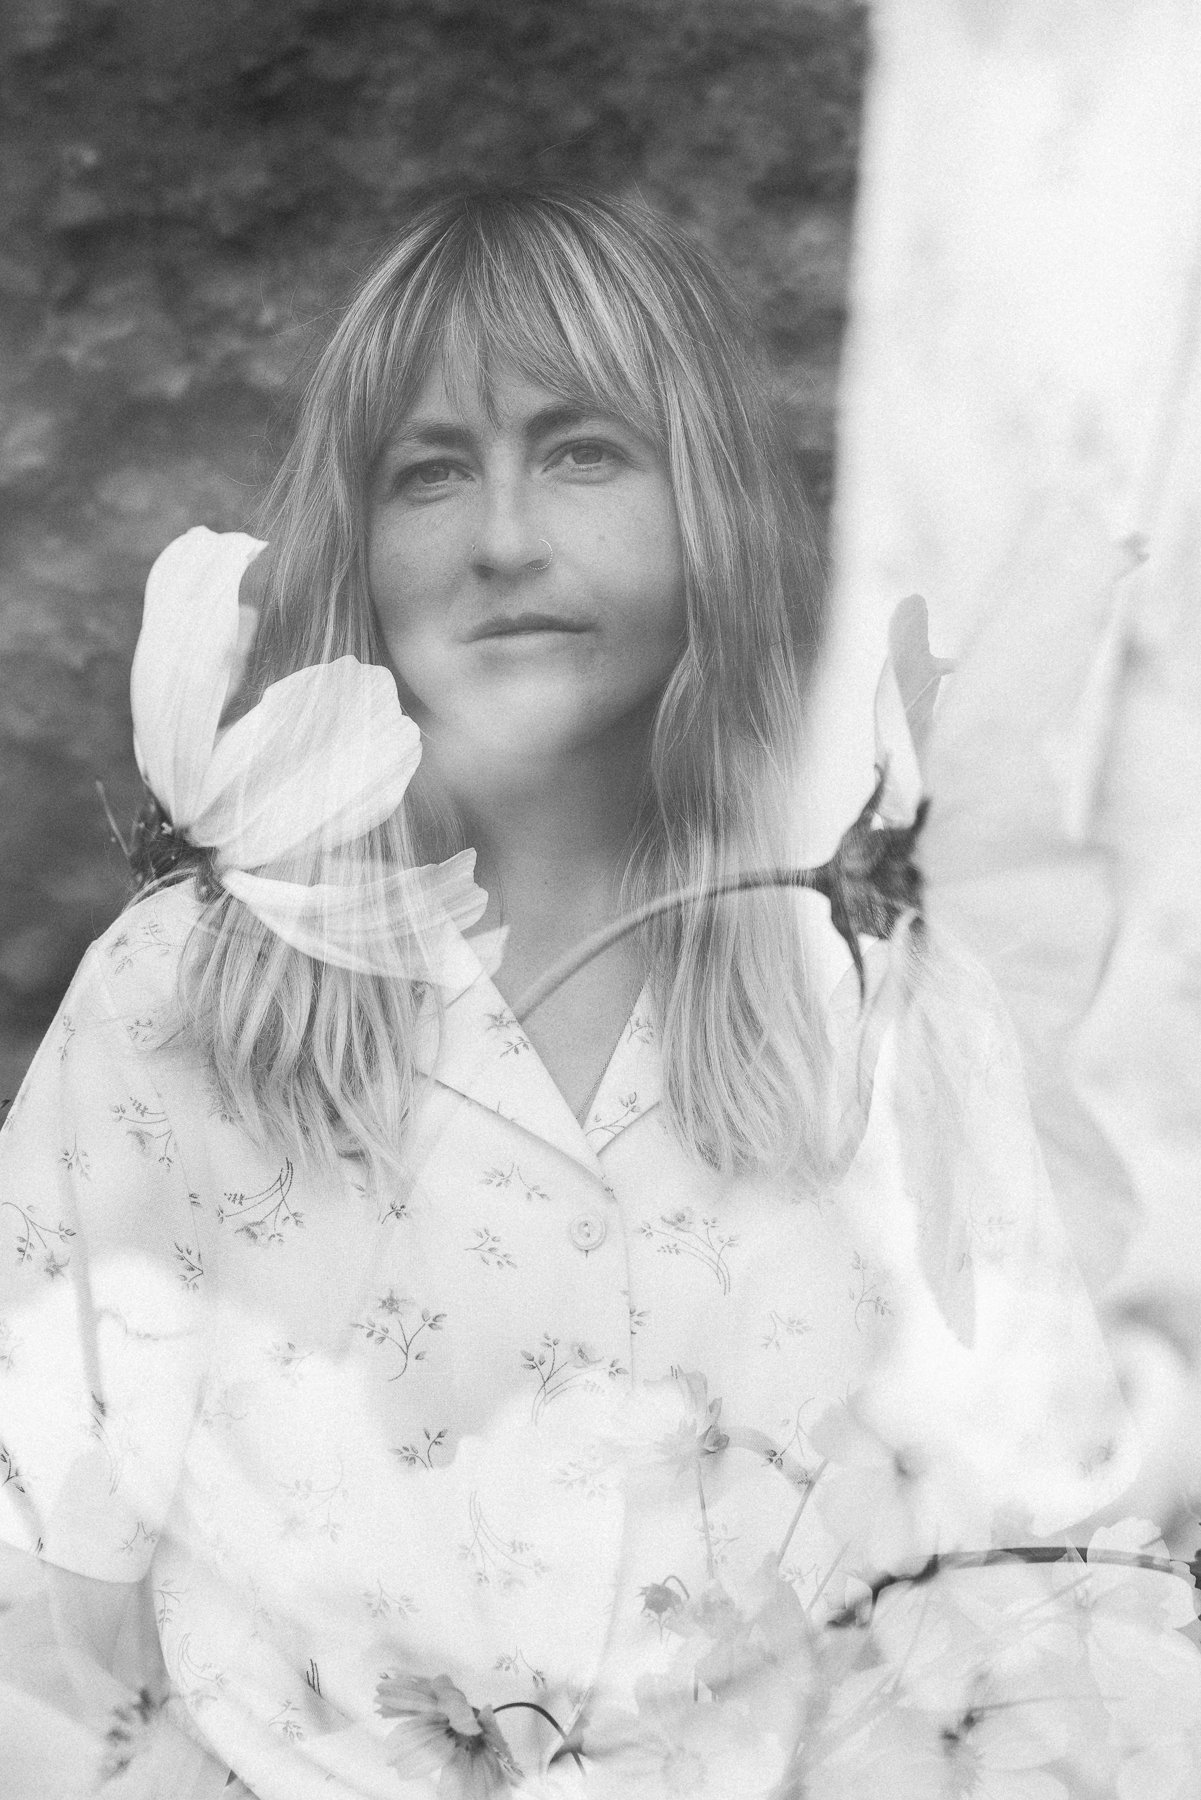
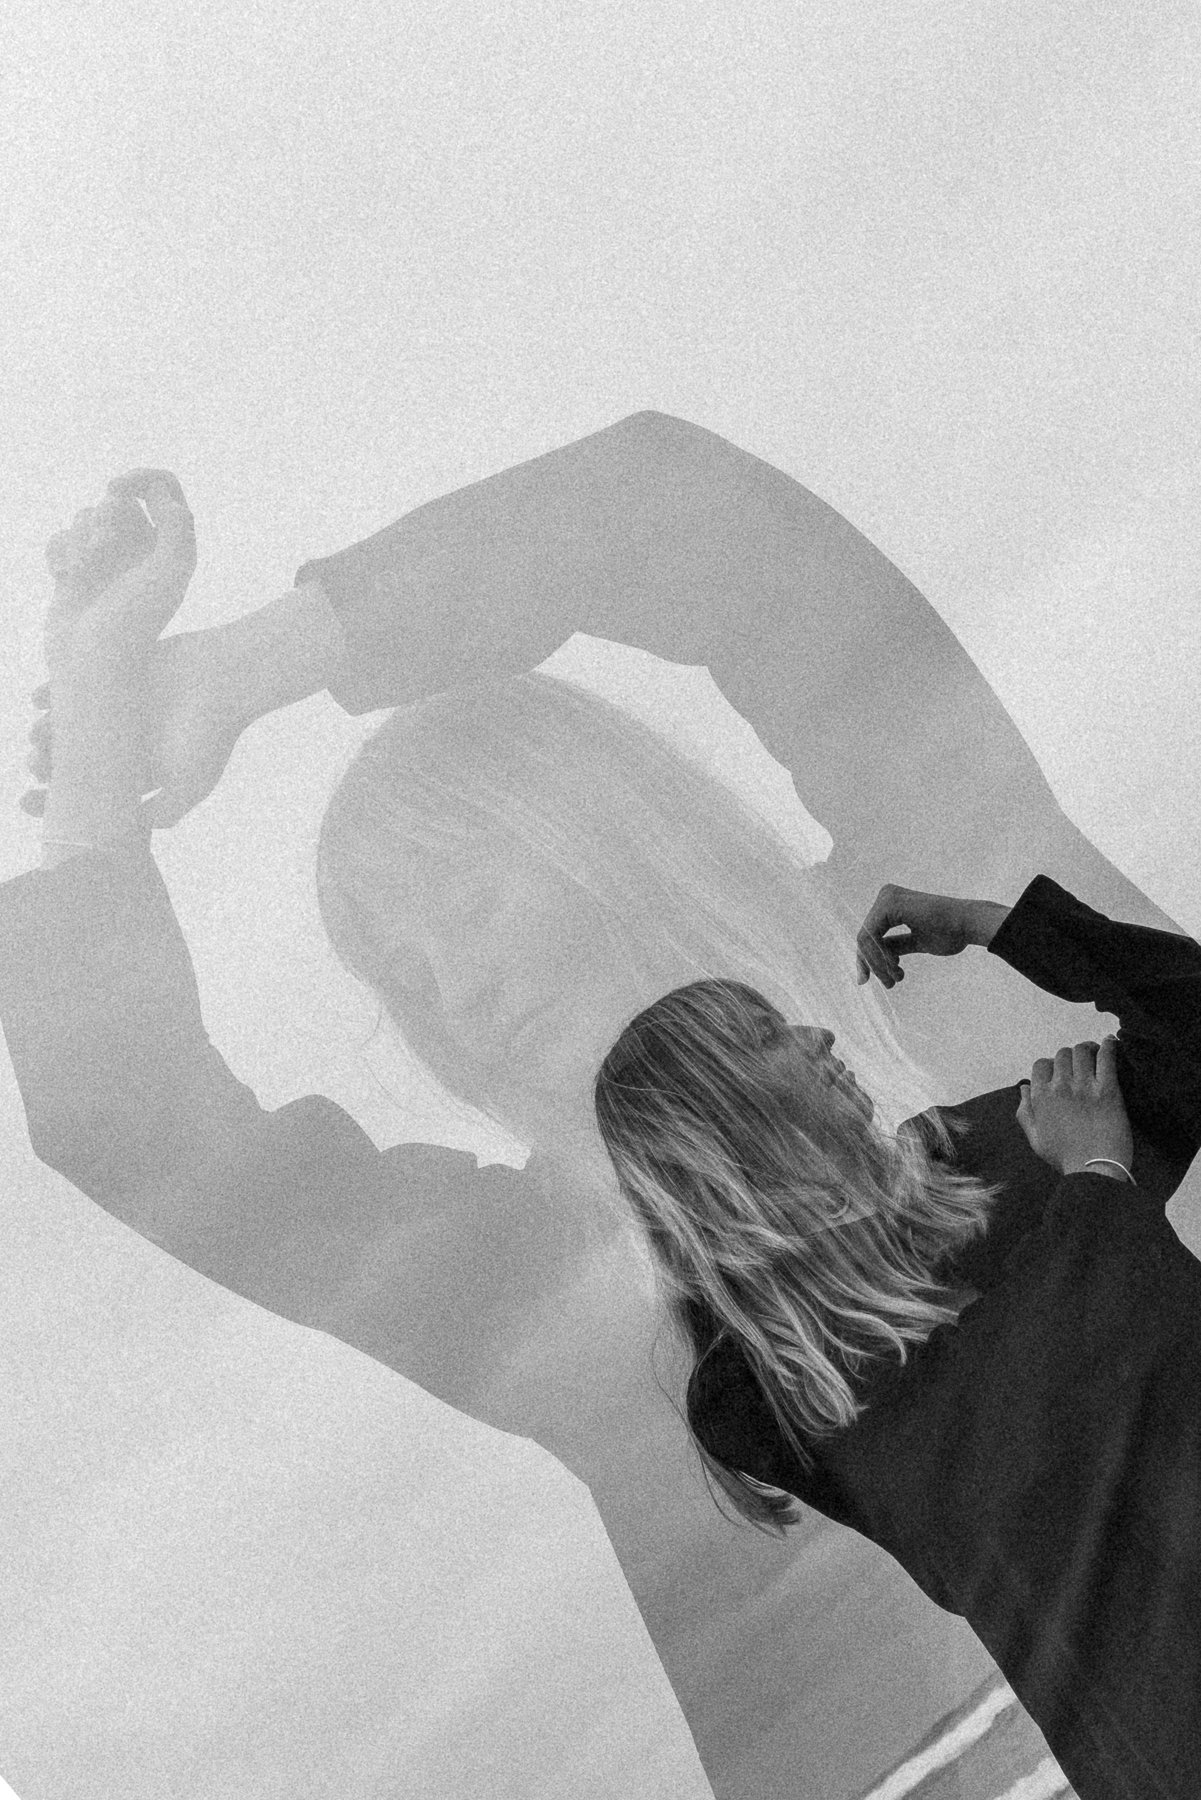
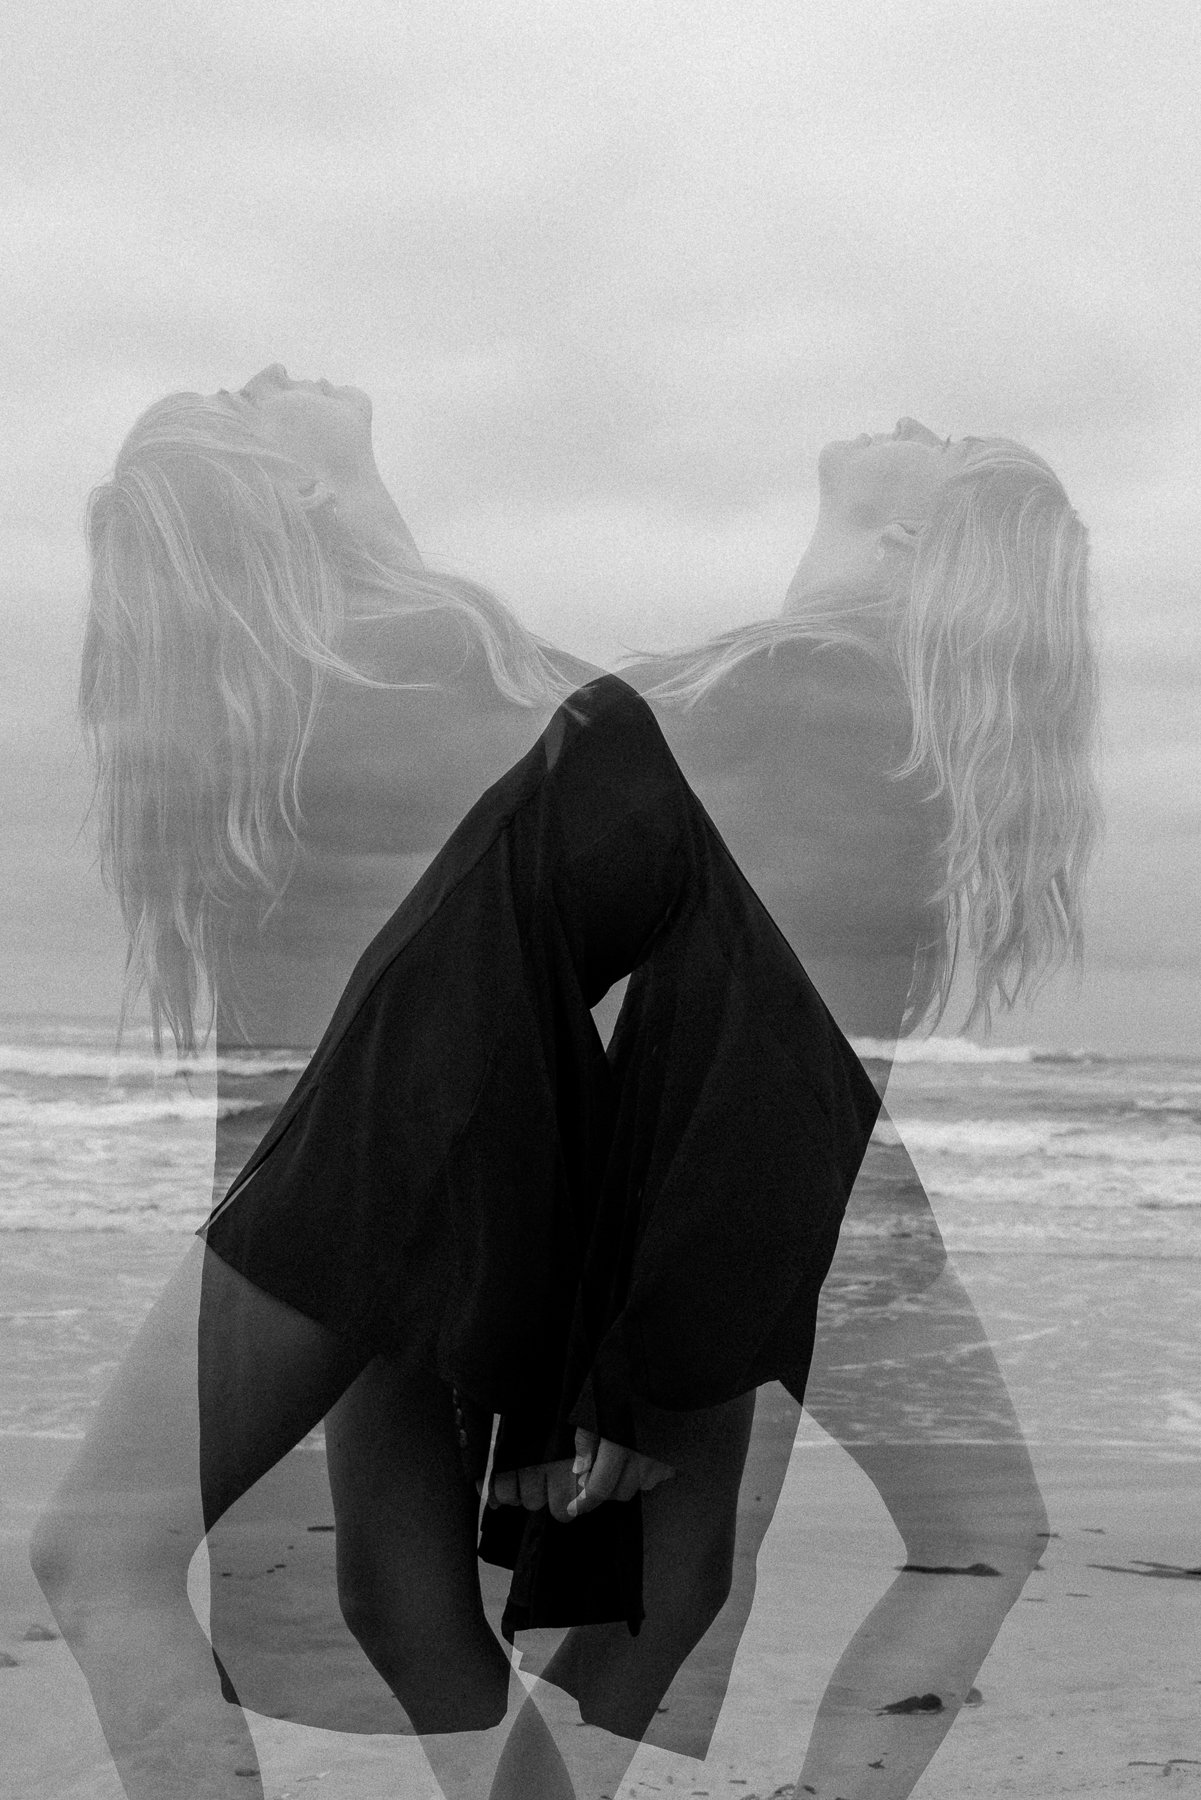
✔️It helps to photograph your subject on a clean background (like the sky) and with the second image you can compliment the dark parts of the subject (the second image essentially fills in where the dark parts of the first image is)
✔️Underexpose your first image - use a fast shutter speed and low f-stop.
✔️Outfit choices matter. We were shooting against the cliffs and the ocean. When we had a blank background (sky and ocean) the dark clothes made Robyn pop SO much more than when she was wearing light coloured clothing.
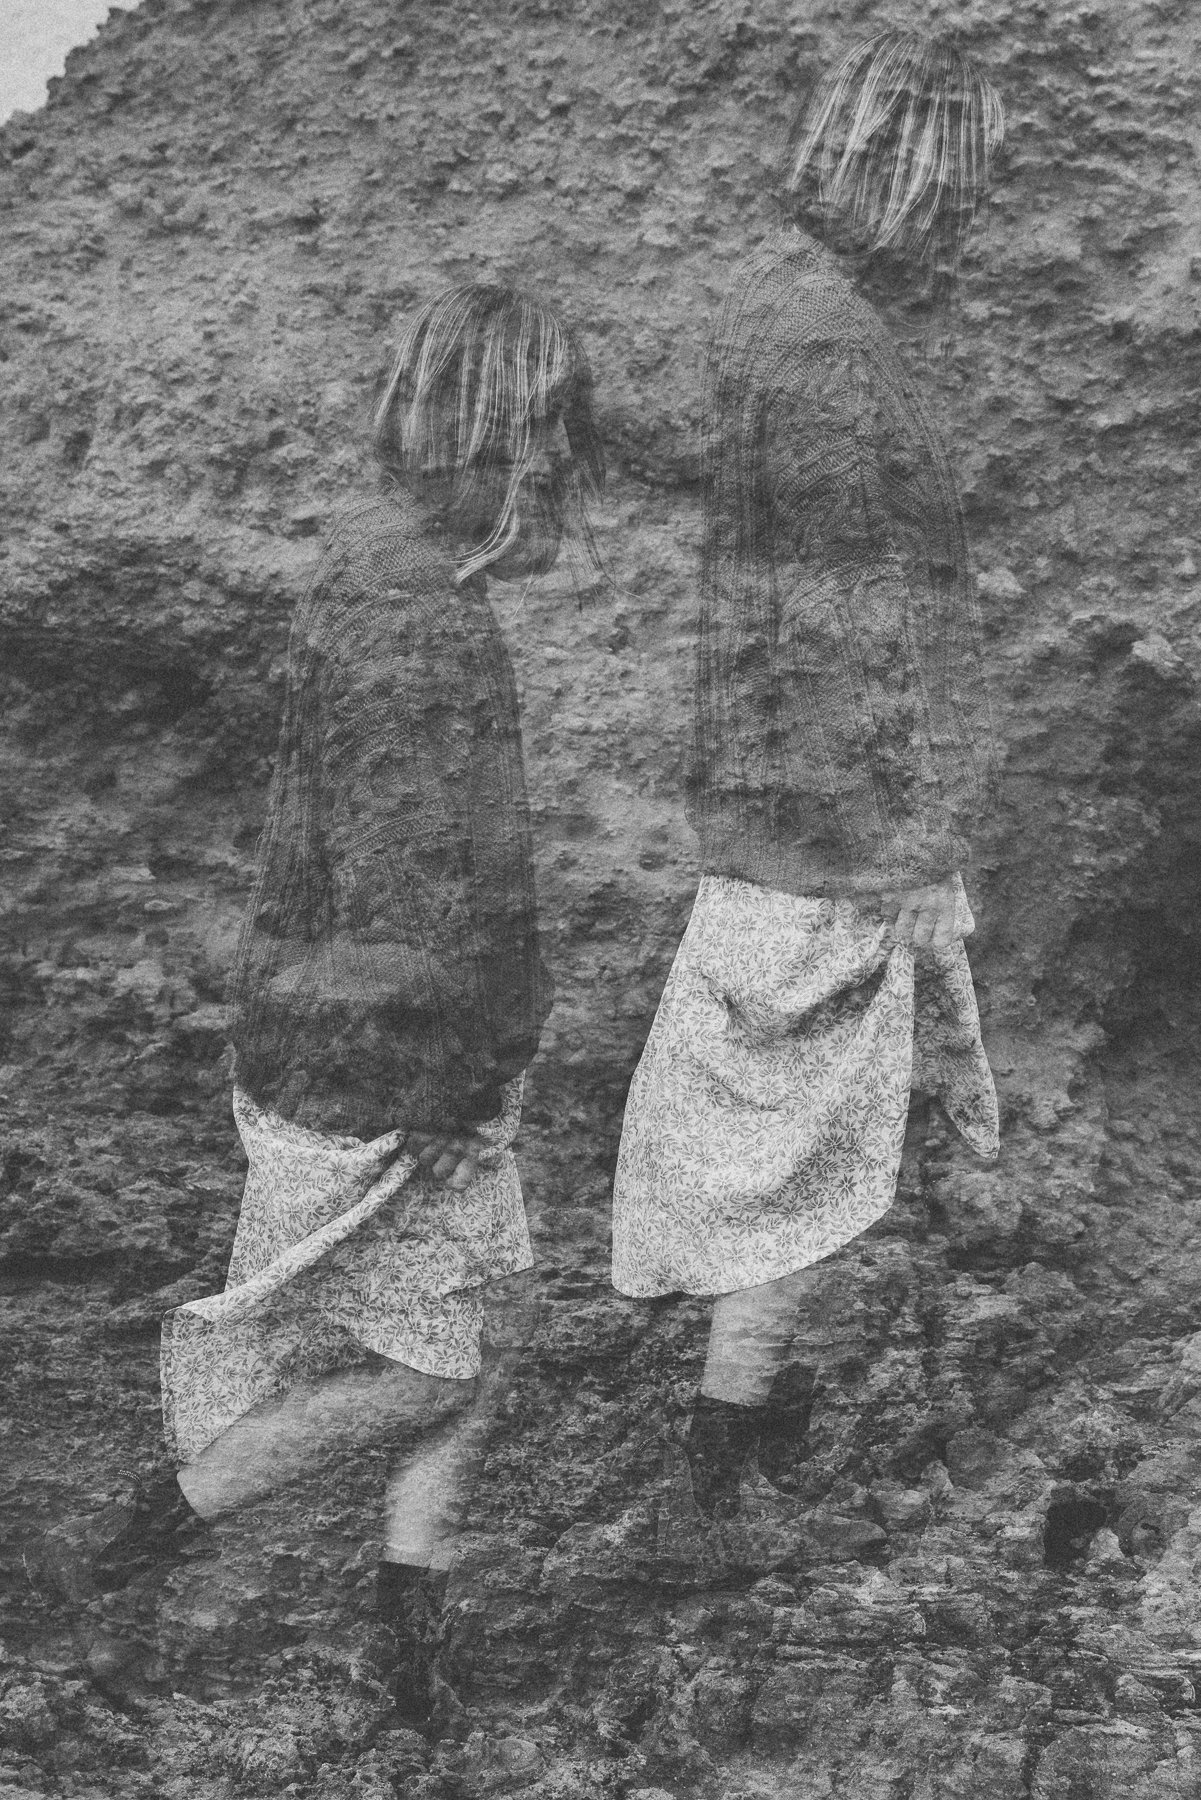
✔️Silhouettes are common for double exposure, but mix it up and try for some dynamic movement. Some of my favourite shots are the ones where Robyn has her arms raised or is walking along the cliffs.
What are your thoughts? Are you a fan of double exposure? Would you want a few taken at your photoshoot?