
How To Capture Your Own Brand Photos
This message landed in my inbox from a potential photography client a few weeks ago. It arrived after three confirmed personal branding shoots were put on hold due to the coronavirus.
“I’m sorry I haven’t responded. I’ve sadly found myself without an income due to where our economy is at. It’s hard. I would absolutely love to work with you when things shift for me. I have been working on my business plan for a long time and am so excited to launch, however, because of where I’m at I can’t go ahead with the images now.”
It’s an extremely challenging time to be a small business, and rather than bum out about lost opportunities, I’ve been trying to think outside the box to help serve others.
I admit it took me a while to shake off the universal low vibe feeling. I didn’t immediately spring into action of any kind, and I still have days where I lack motivation and drive. But the gears are starting to click and I’m finding ways to provide helpful information to those who need it! (If you have any questions or topics regarding photography that you want me to cover, send me a note here.)
Which leads me to this post! Because of income restraints and social distancing rules, I wanted to share a few tips on how to capture your own brand photos. There’s no better time to show up on your social media platforms and authentically connect with your audience. I promise, they want to hear from you and they especially want to see you.
See this an opportunity to play around and get your creative juices flowing. If you’re currently WFH or on lockdown, it’s at least a good opportunity to change out of your yoga pants and take your hair out of it’s 24/7 messy bun situation.
5 Tips to Capture Your Own Brand Photos (Using a Smartphone!)
Use Natural Light:
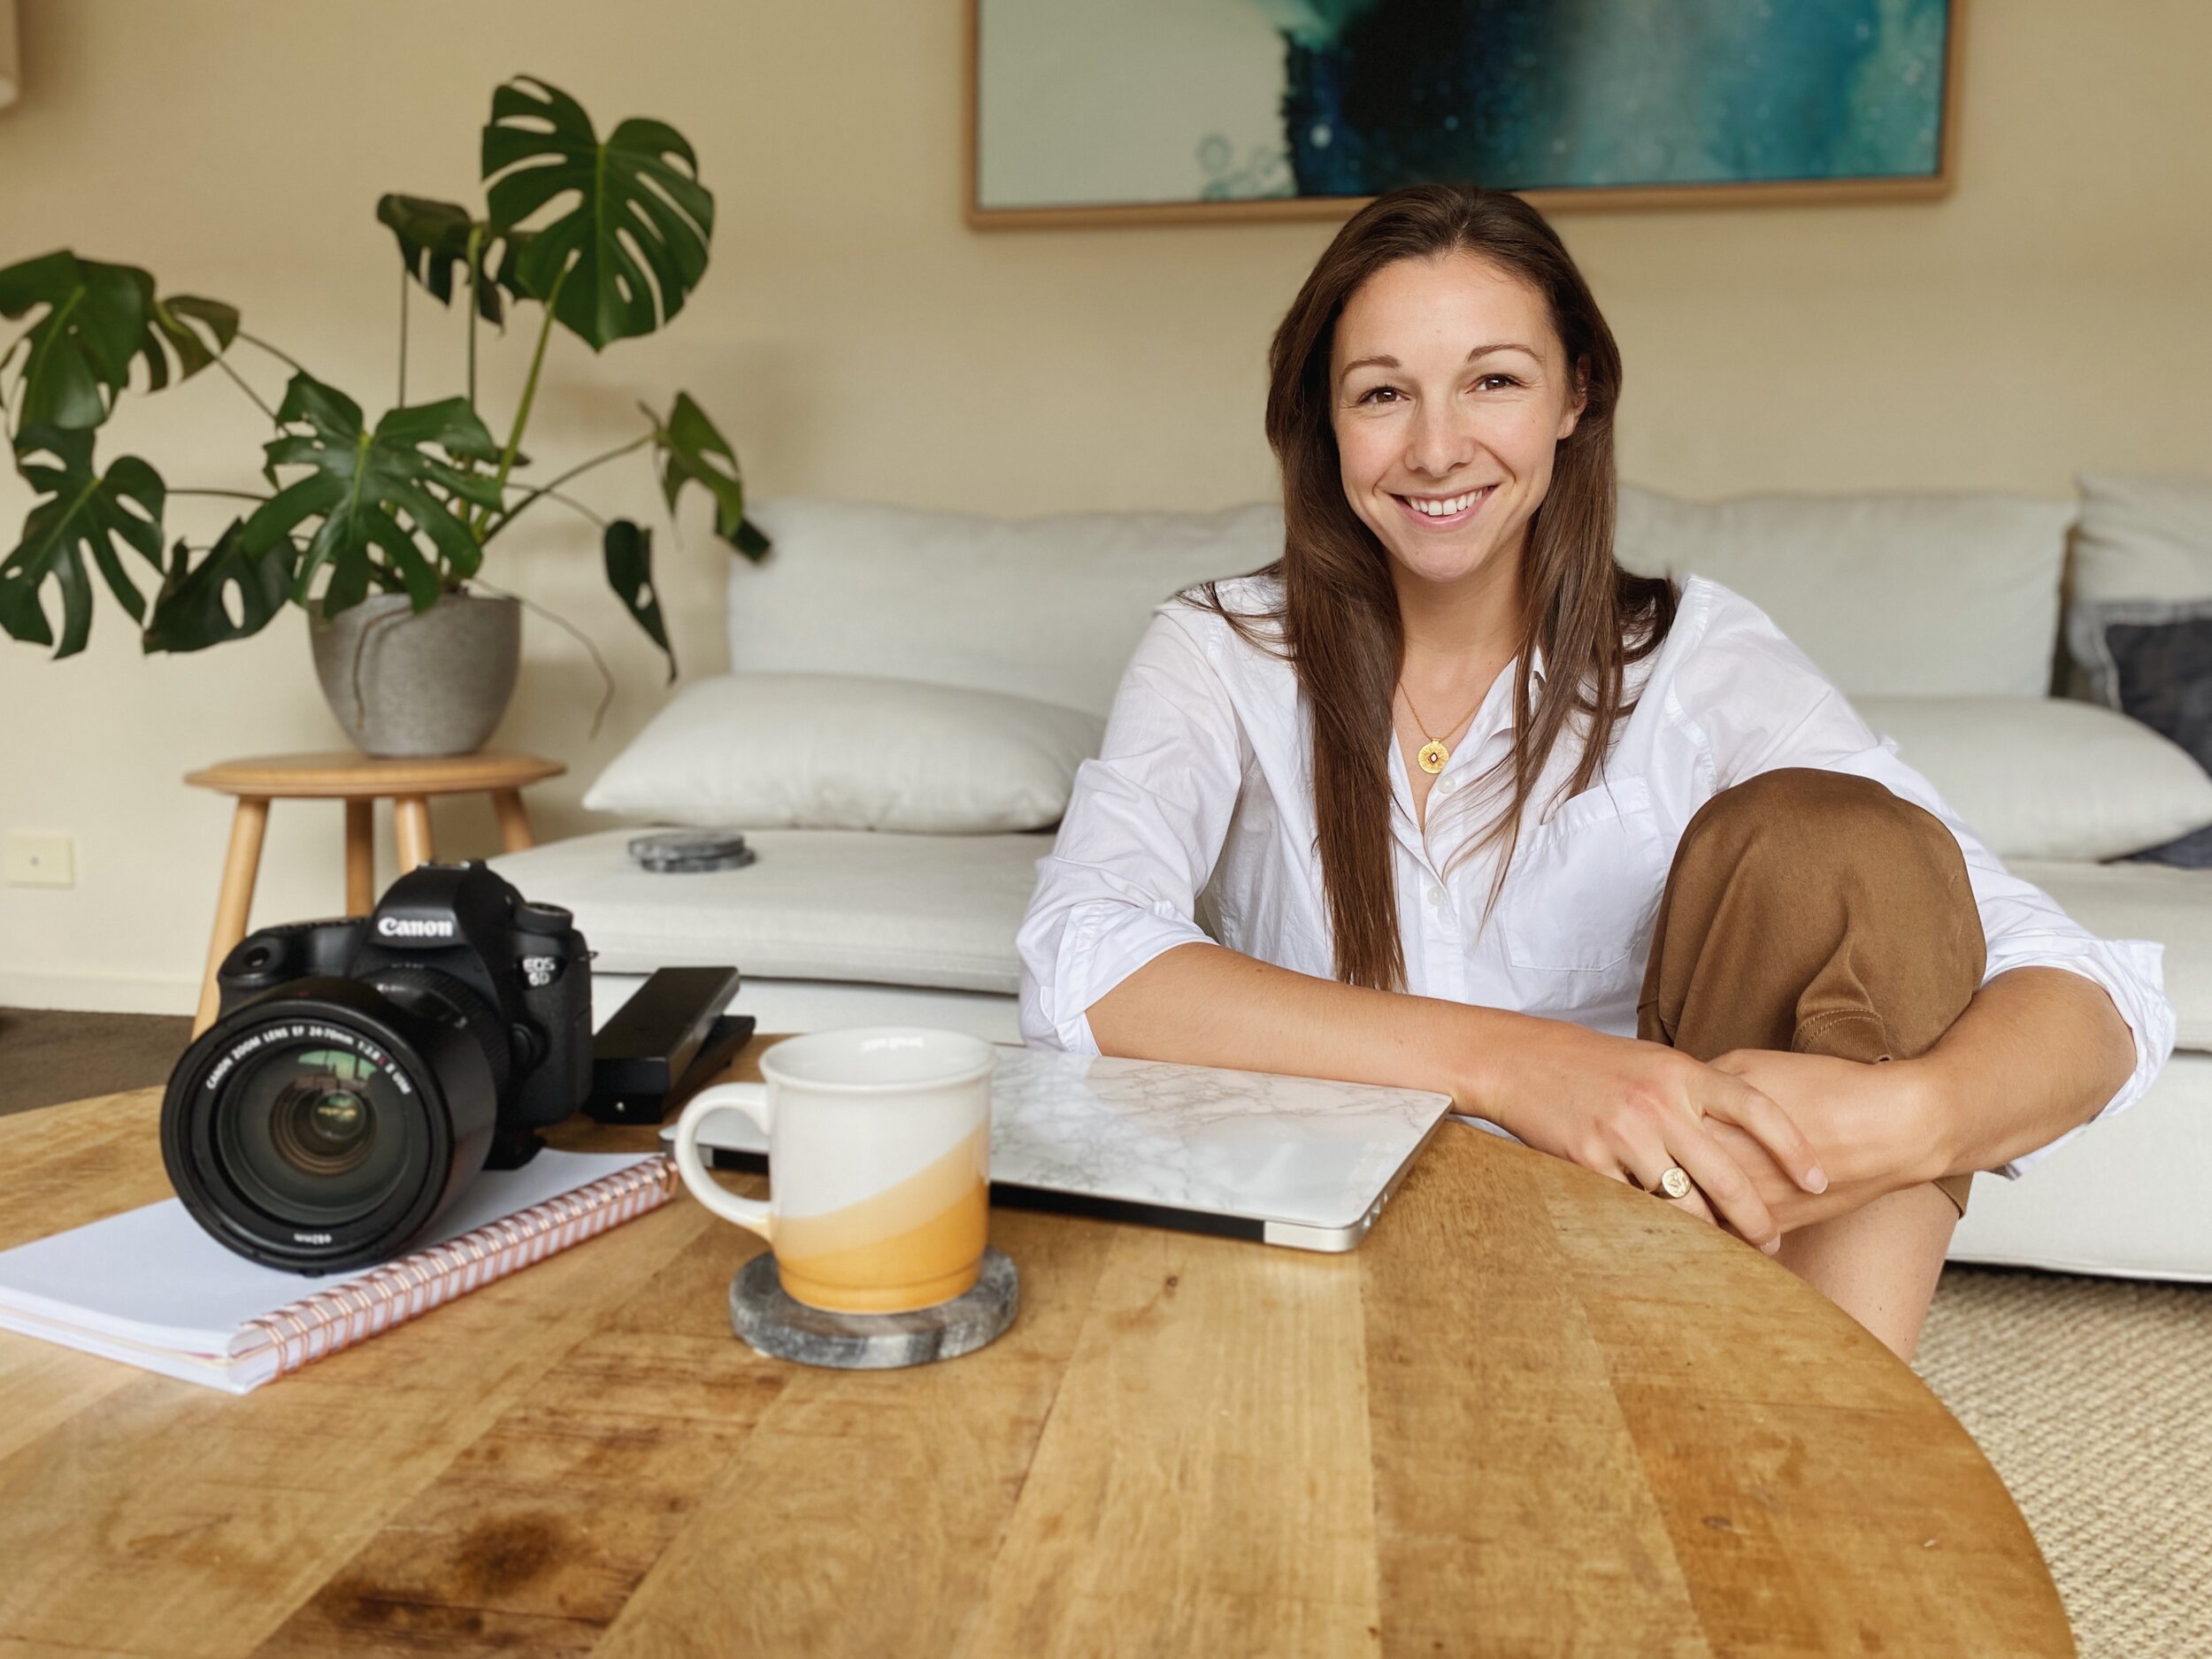
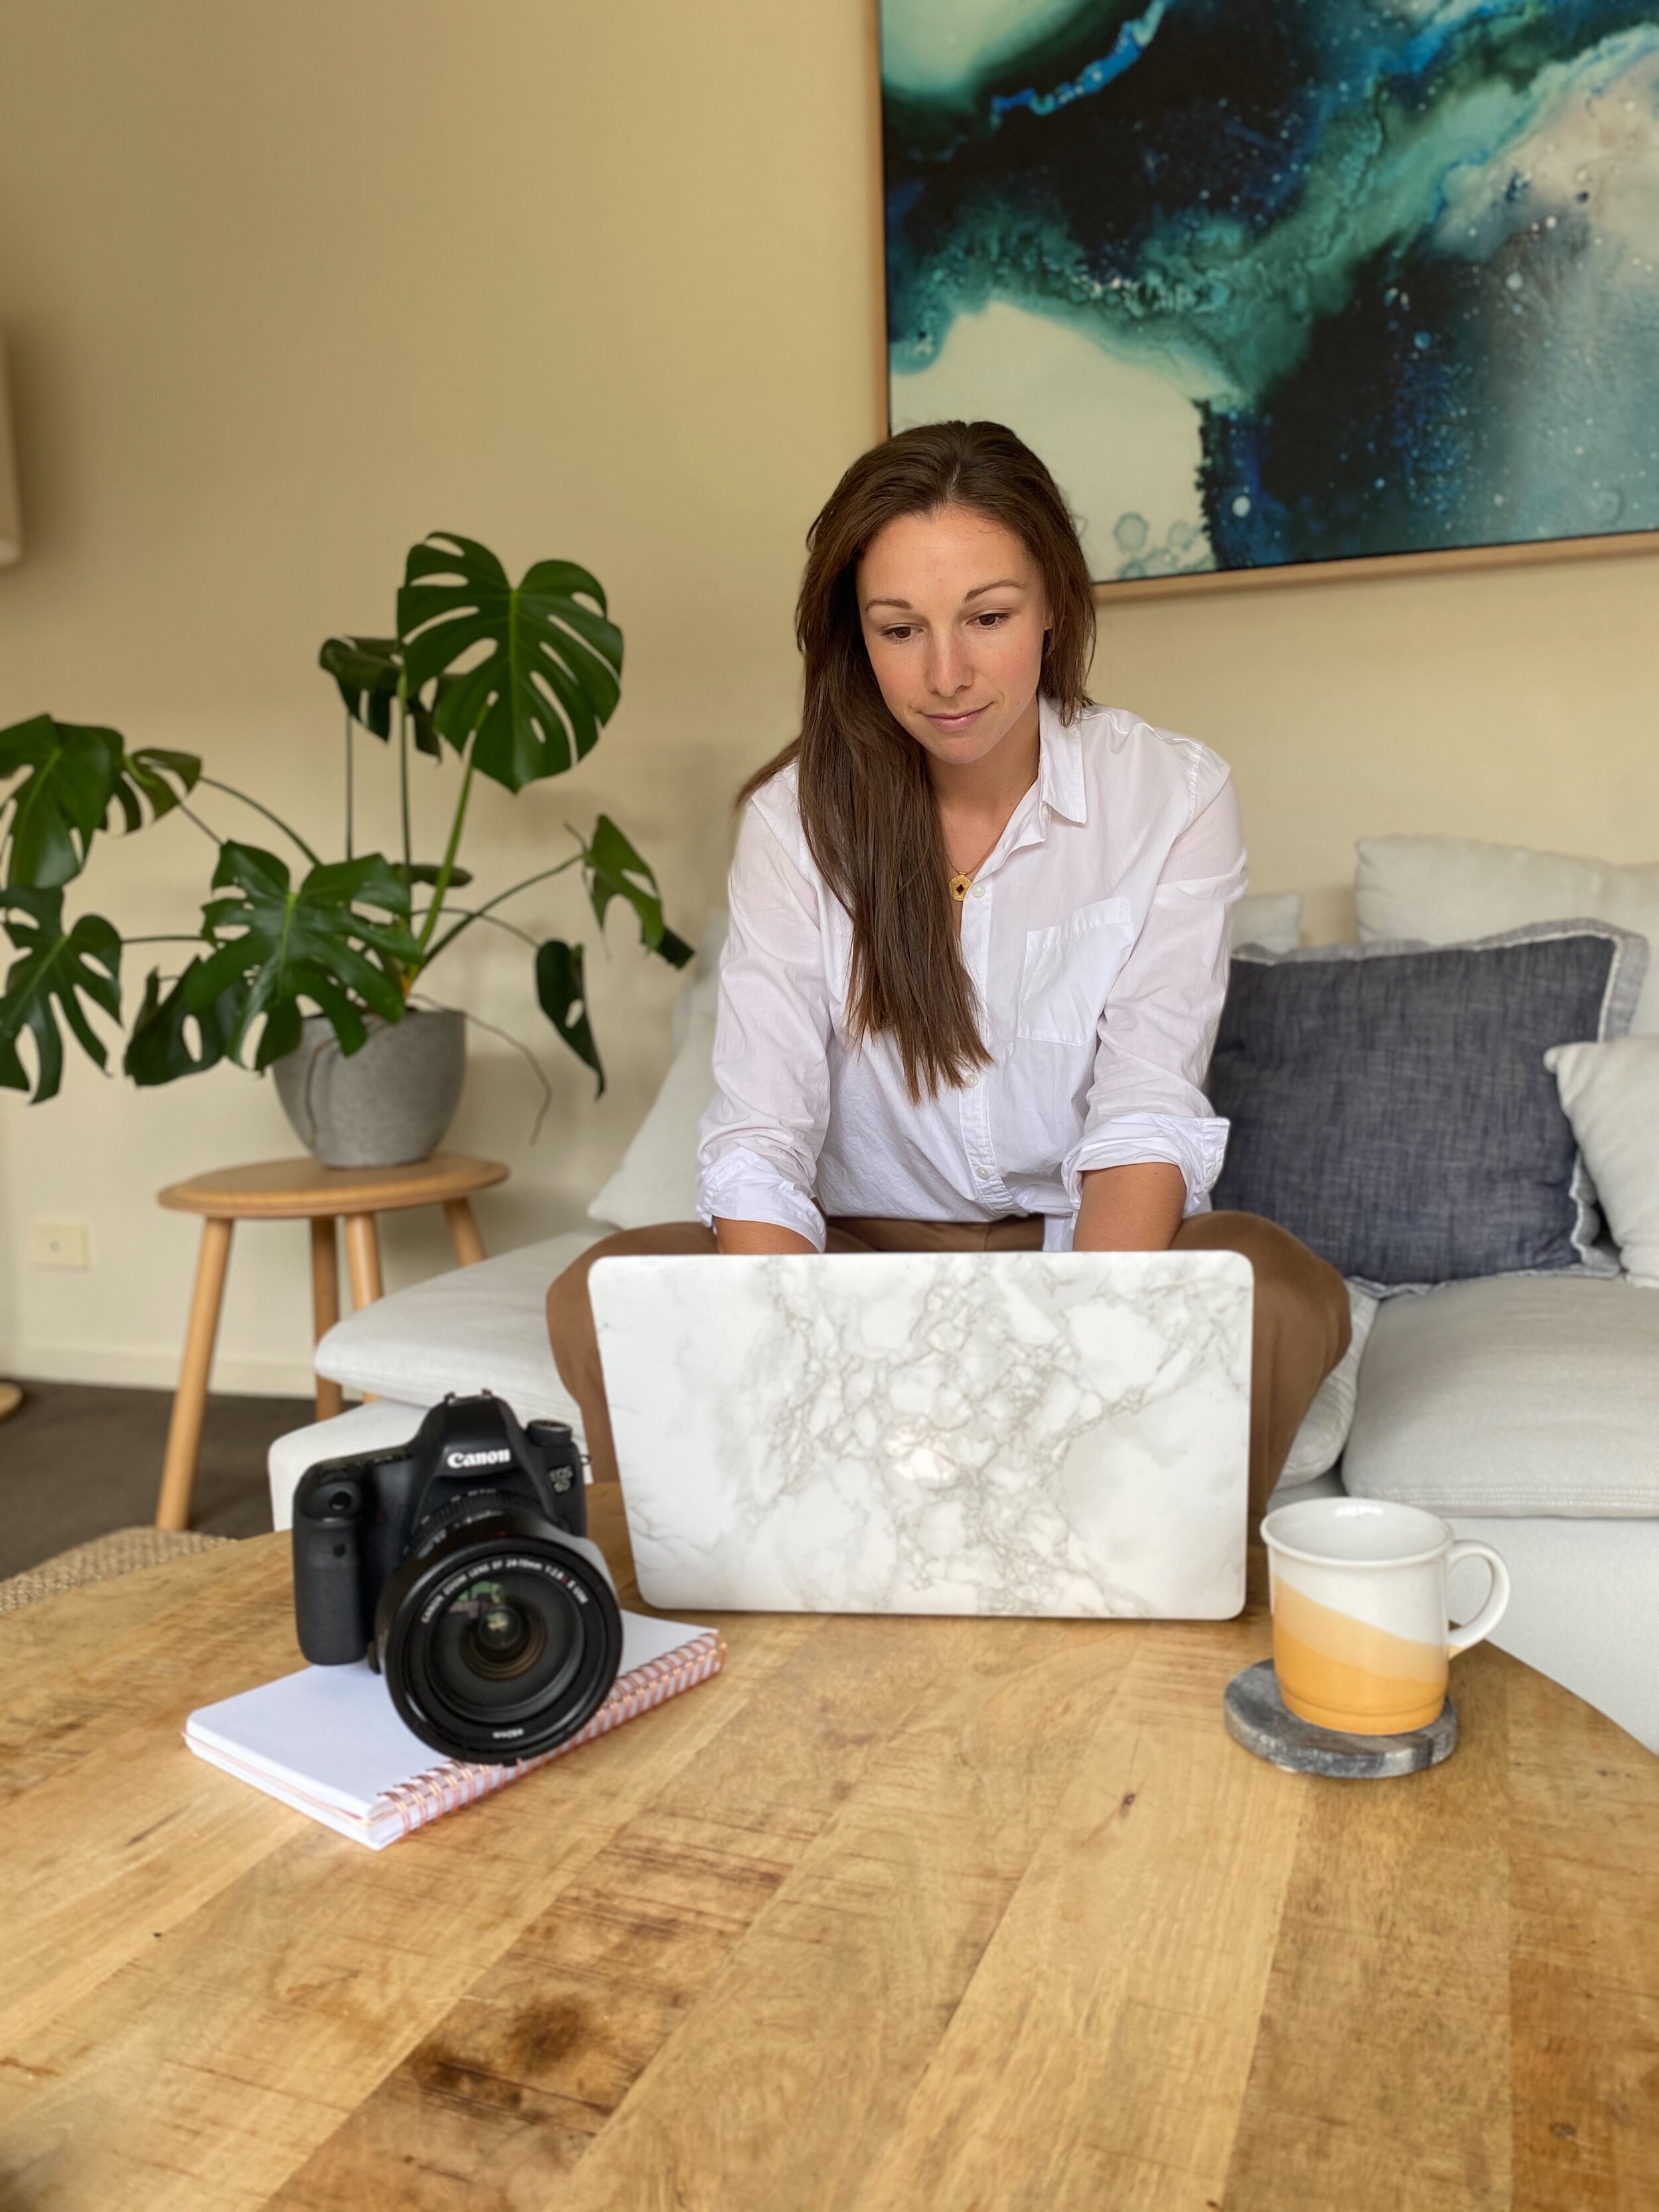
There’s a good chance you’ll be taking photos in your home. The best light for indoor portraits is diffused window light. In the photo above, I’m facing the large windows in my living room, in the late morning when the sun was high enough to not be directly streaming into the room. The result is a soft light that falls nicely on me and space without any harsh shadows.
TIP: If you live in a really dark house, I suggest moving outdoors for your portraits. The best times for outdoor photos is early morning or late afternoon when the sun is low on the horizon and the directional light creates soft shadows and a warm glow.
Purchasing a ring light for your home, or even specifically for your phone, are options to help combat poor indoor lighting.
Choose a Simple Background:
Backgrounds that are too busy pull the focus away from you. Reorganize the furniture in your room if you have to, and reduce clutter. Anything that doesn’t add to the photo or communicate something about you or your brand, remove it. In my opinion, simple and minimalistic is better, especially if you’re taking and editing your own photos. Example backgrounds can include a wall with some art in the background (like mine) or if you want to go outside, look for lovely corners in your front yard or neighbourhood.
Be On Brand:
Even though you’re doing this DIY style, make sure that everything from your outfit to the setting is still on-brand. Think about your brand’s mood and colours, how can you incorporate them into your photos to maintain consistency across your digital platforms? Remember to mix up your shots and grab both horizontal and vertical so you can use them on a variety of platforms.
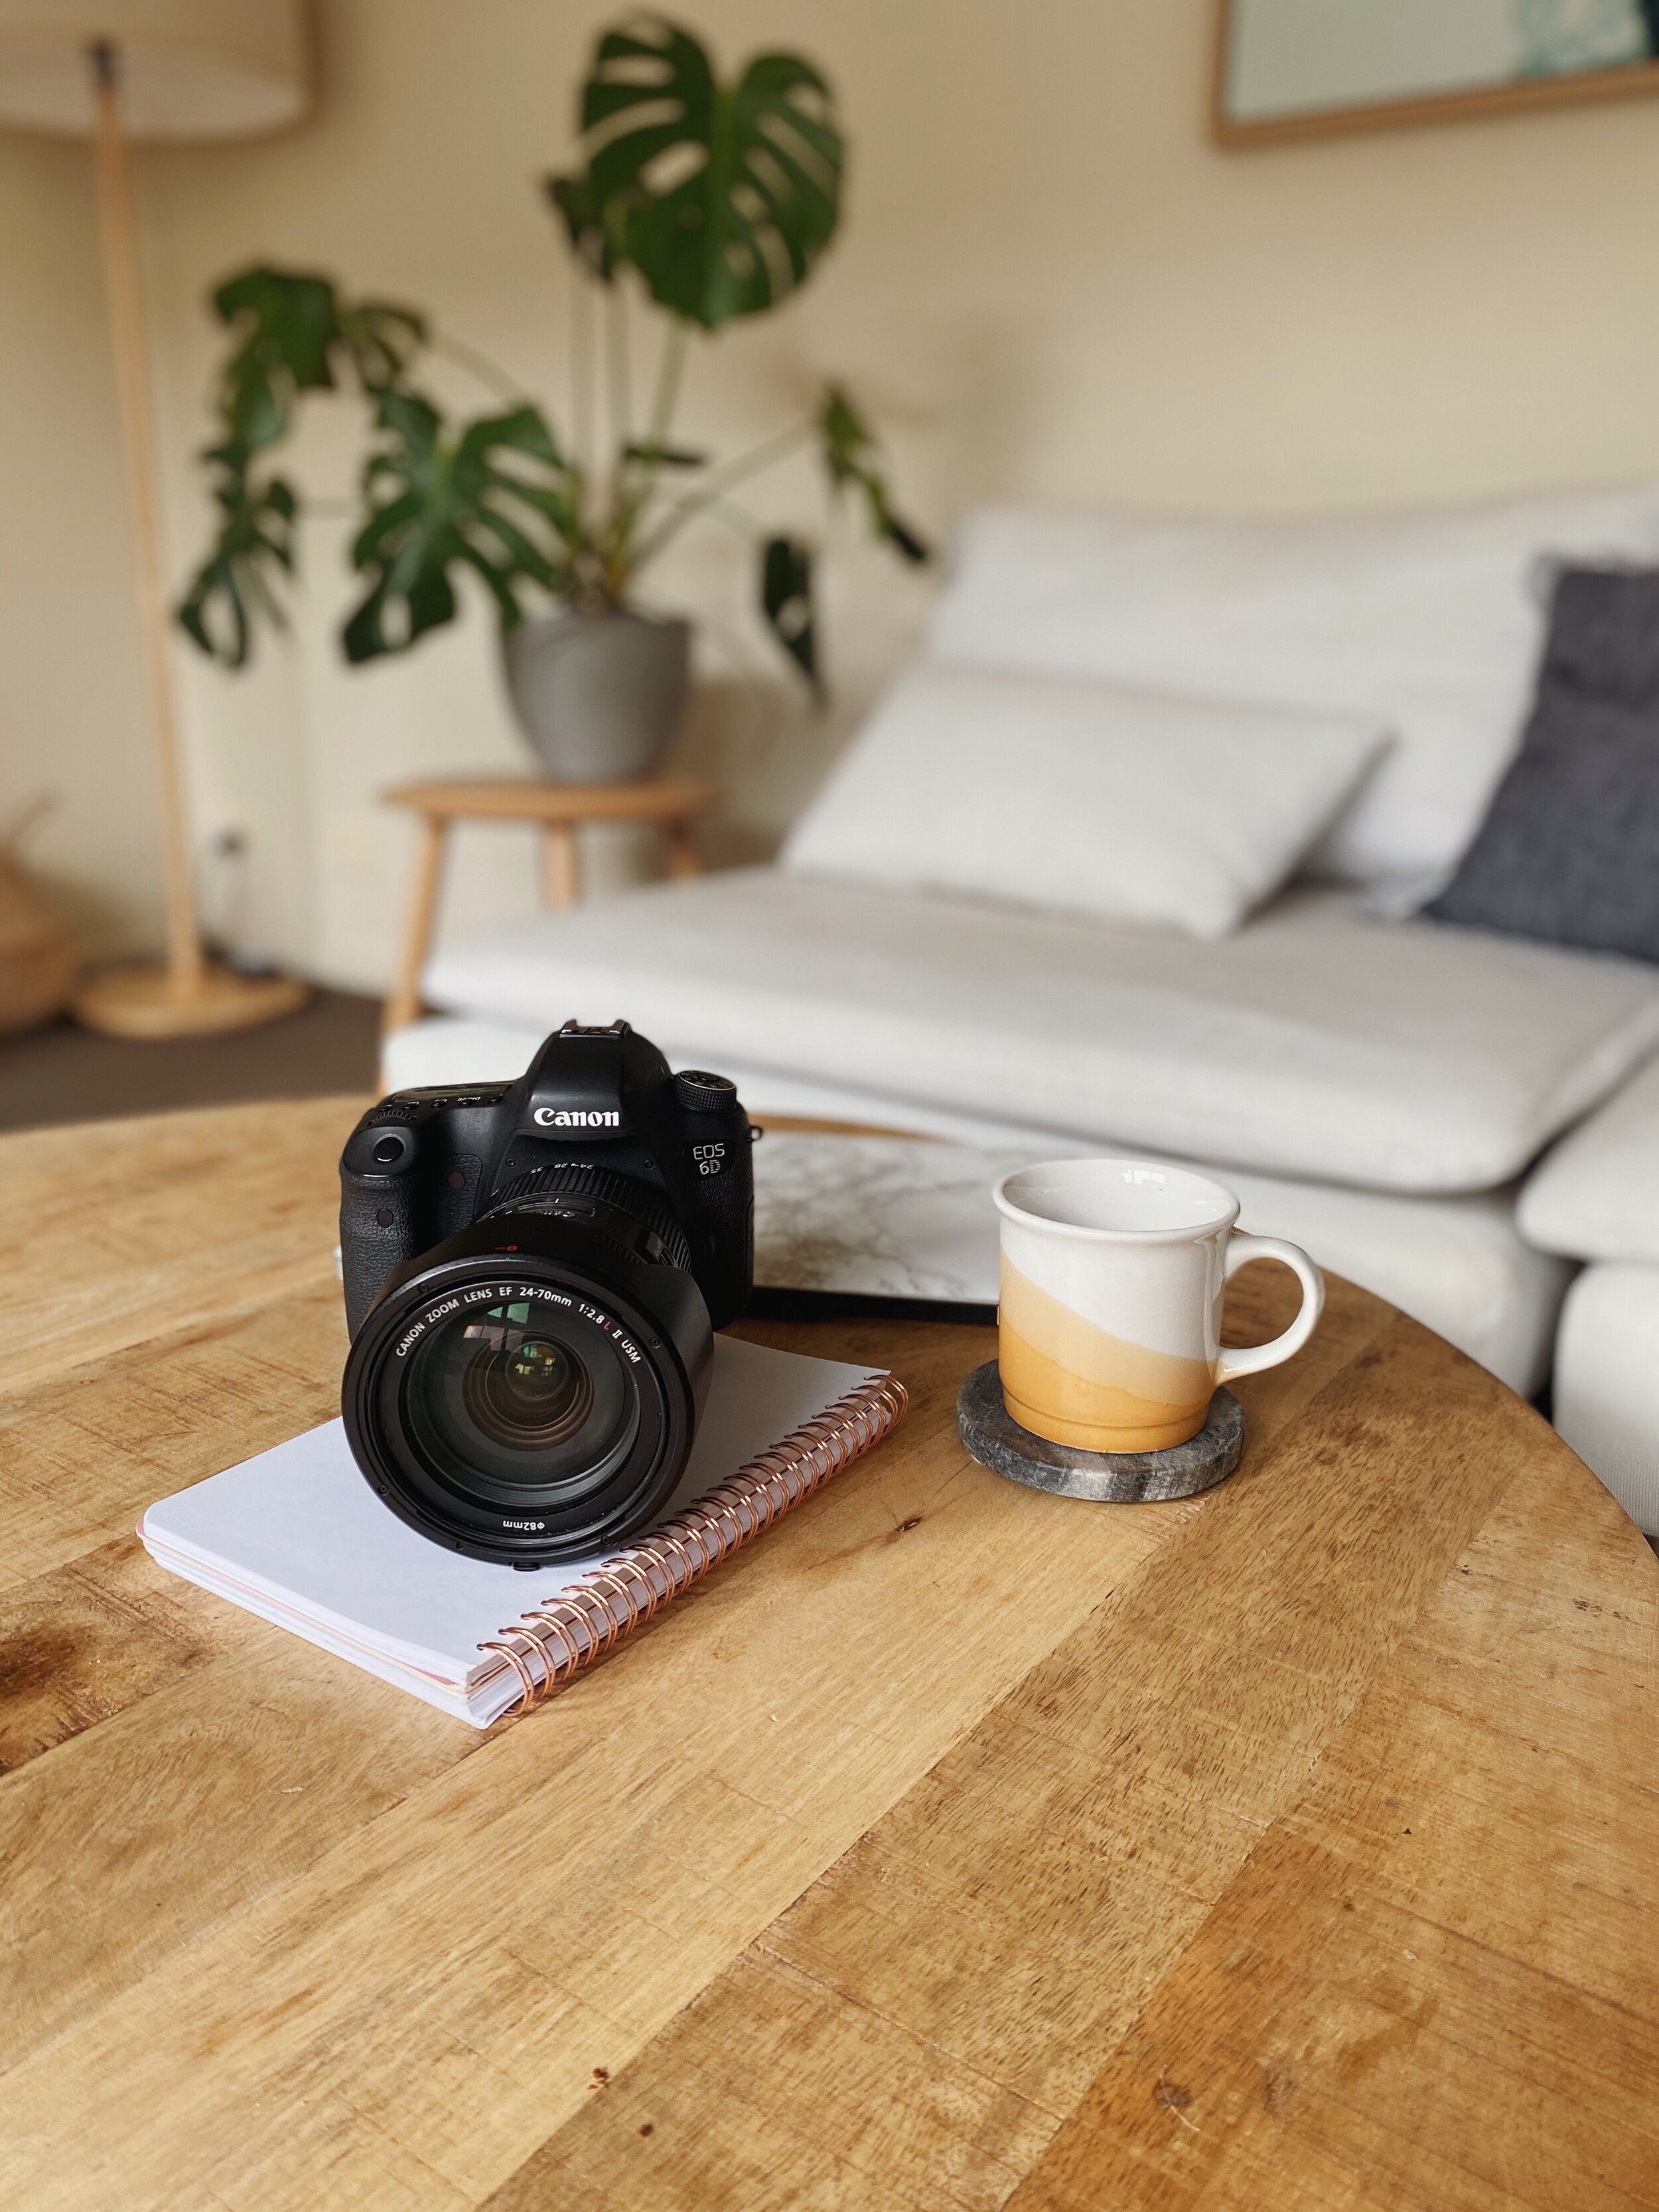
TIP: Besides capturing a few portraits, take a few photos of your work station or studio, or your products in a flat lay composition or styled with your house plants.
Use a Tripod & Timer:
Or if you’re lucky enough to have a helpful partner, roomie, or kid, ask them for help! I’ve found it’s easiest to get everything ready exactly as I want it before handing over the phone (because being your personal photographer is probably not what they had in mind for their day ;) If you want to get a tripod, you certainly have a lot of options.
TIP: Read Digital Camera World’s “The best iPhone tripods and supports in 2020: for night shots, vlogging and more”
Use an Editing App:
Once you’ve taken your photos, highlight the ones you like best and load them into an editing app like Lightroom or VSCO. Both are free and intuitive to use, even if you' don’t know a ton about photography. Here are a few things think about when you’re editing.
Exposure: exposure is the overall brightness or darkness of a photograph. Essentially you want to make sure that the image isn’t overexposed (where you lose highlight detail and it’s way too bright) or underexposed (when you lose shadow detail and it’s way too dark.)
Tone: There’s a lot to learn about tones but for this DIY shoot, we’ll focus on warm and cool colours. If you take a look at the pictures in this post, you’ll notice they have a golden/warm quality about them. That’s my style but it might not be yours. You can play around with the temperature slider and move towards blue if you want a cooler image, or yellow if you want it to feel warmer. Just make sure to pay attention to skin tone when you’re playing with temp. Too much blue and you’ll look ghostly and too much yellow and you’ll look, well yellow!
Crop & Level: Composition is a personal choice, but a good rule (that you can absolutely break if you want) is to crop so that your main subject (most likely you) is in the centre. It makes the composition feel more balanced and often tightens the frame a bit. After you’ve cropped your image, make sure it’s straight before you save it. Use the straighten tool to align the image to level your horizon.